Help
Using Viewables as a Registered User
Viewables Overview
The Smead Viewables® Color Labeling System is the easiest way to create professional labels for all your hanging folders and file folders. Not only will your files look better, they will work better. Neat, readable, and consistent labels allow you to find your files quickly and reduce the likelihood of a misfile.
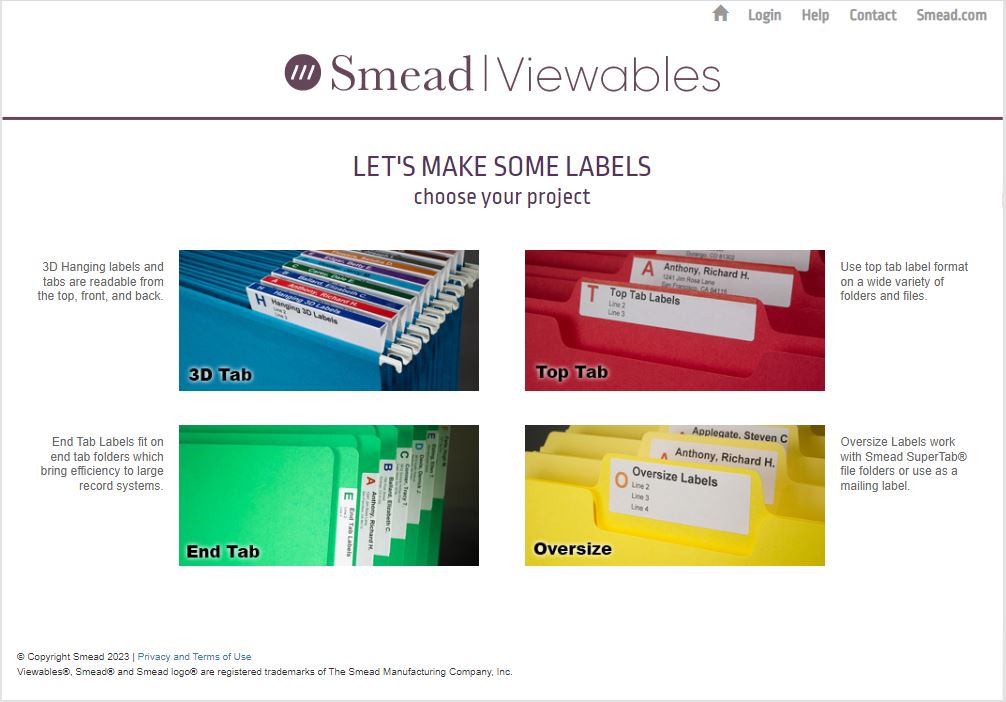
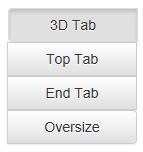
By clicking a label type you will be taken to the Label Editing page where you will be able to edit a label of the type selected. Choose from the following label types:
- 3D Hanging labels and tabs are readable from the top, front, and back.
- Top Tab Labels use top tab label format on a wide variety of folders and files.
- End Tab Labels fit on end tab folders which bring efficiency to large record systems.
- Oversize Labels work with Smead SuperTab® file folders or can be used as a mailing label.
Using Viewables as a Guest
What can I do as a Guest?
- You can use the site to create and print labels.
- You cannot save after you exit the site
- You can click on the projects link, but you will be prompted to create a login.
Using Viewables as a Guest:
^ back to top
What can I do as a Registered User?
Creating a Free Viewables Cloud account allows you to:
- Save and access your labels from the cloud for free at any time from any computer
- Get access to exclusive Smead label templates and special labeling icons for even greater flexibility in organizing your files
- Be the first to receive notice of helpful organizing tips and product enhancements
Login/Create an Account Pages
If you don’t have a Viewables account you will be allowed to create labels as a guest. However, you will not be able to save your label information for future reference such as projects, templates, & icons.
How do I create a Viewables Account?
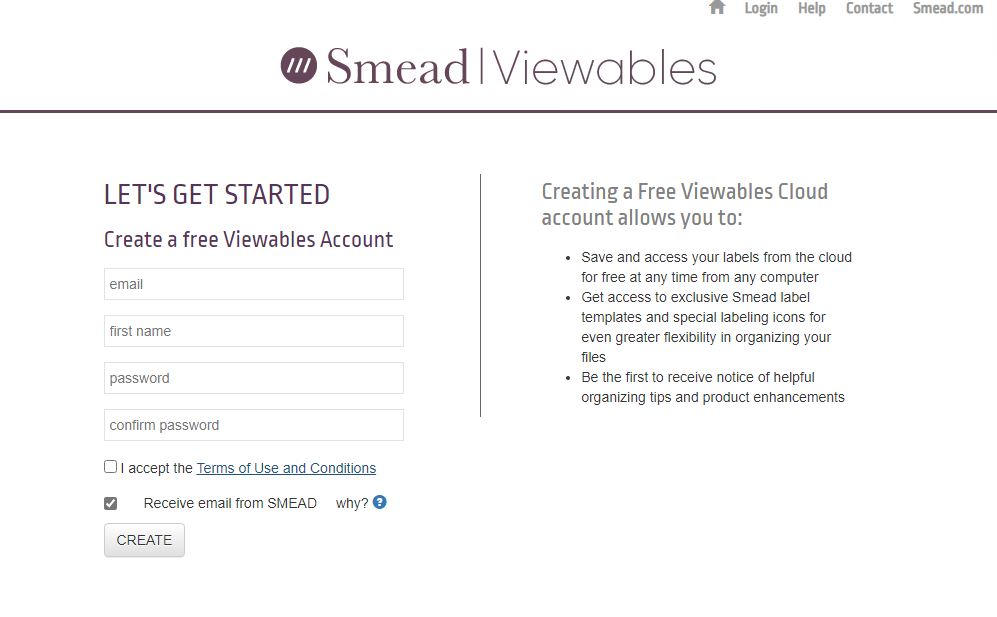
You will need to provide a valid email address, a first name, and a password.
How do I log on?
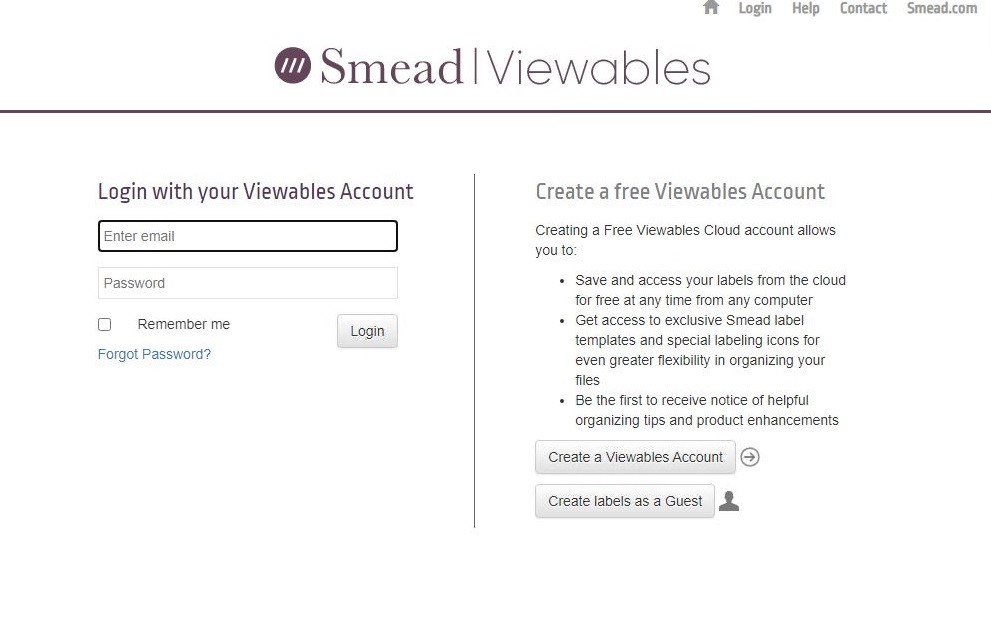
Click the Login link from any page and it will take you to the Login/Create an Account Page. Provide your credentials and click the Login button
Remember Me: Once logged in with an account, a cookie will be saved to your computer. The cookie will be used to automatically log you in to Viewables and will take you directly to Edit Label page with the last edited label. Note Must have a Viewables account to return to saved data in a different session
What if I forget my password?
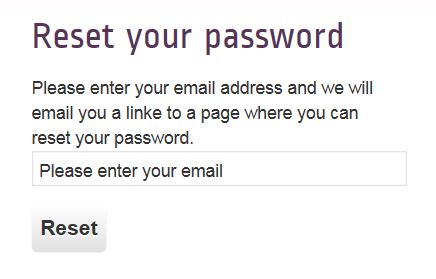
Click the Forgot Password? link on the Login/Create an Account Page.
Enter your email address on the Reset your Password Page and click the Reset button.
You will be sent an email with the original password.
Creating a Free Account:
^ back to top
Label Editing Page
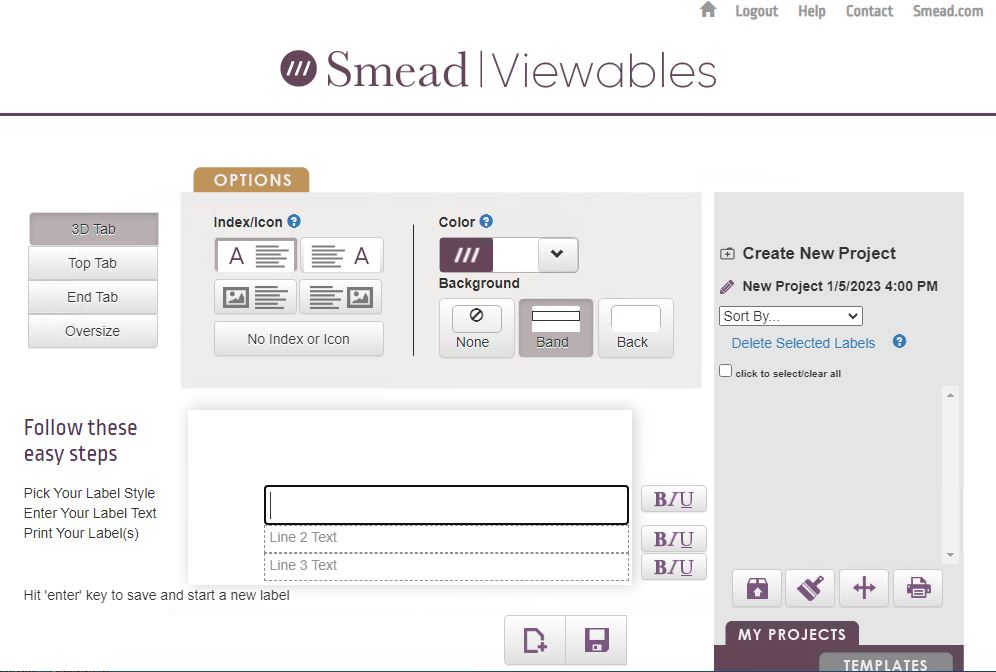
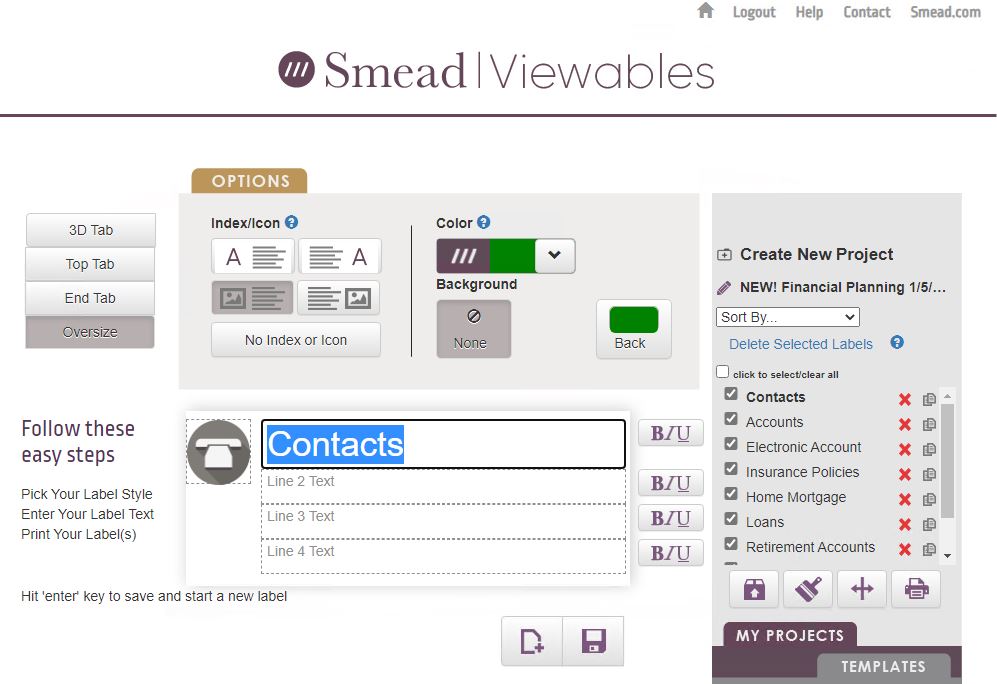
This is your chance to make the labels look exactly like you want. All changes to your label are done on the label edit page.
Choose your label type on the upper left corner
 Label Styles – there are four, each with their own layout, options, and ability to change font faces and sizes. Font sizes can be selected within the limits of what will fit on a line of text.
Use the options box to view the setup options available for each label type.
Select an option to view the changes in the preview.
The Label Setup settings include the following options, depending on the label type:
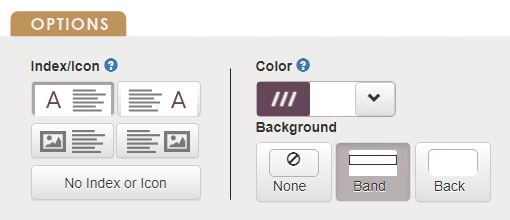
Index/Icon Character: Includes large capital letters on the label for index formatting. These letters are generated automatically and help when the files are arranged alphabetically. An icon is a small graphic that can be used for indexing. You can also choose to have no image, Index Left, Index Right, Icon Left or Icon Right. The Icon has a pre-determined width and height.
Color Character: Users can choose to have no color, a color band or a full back color.
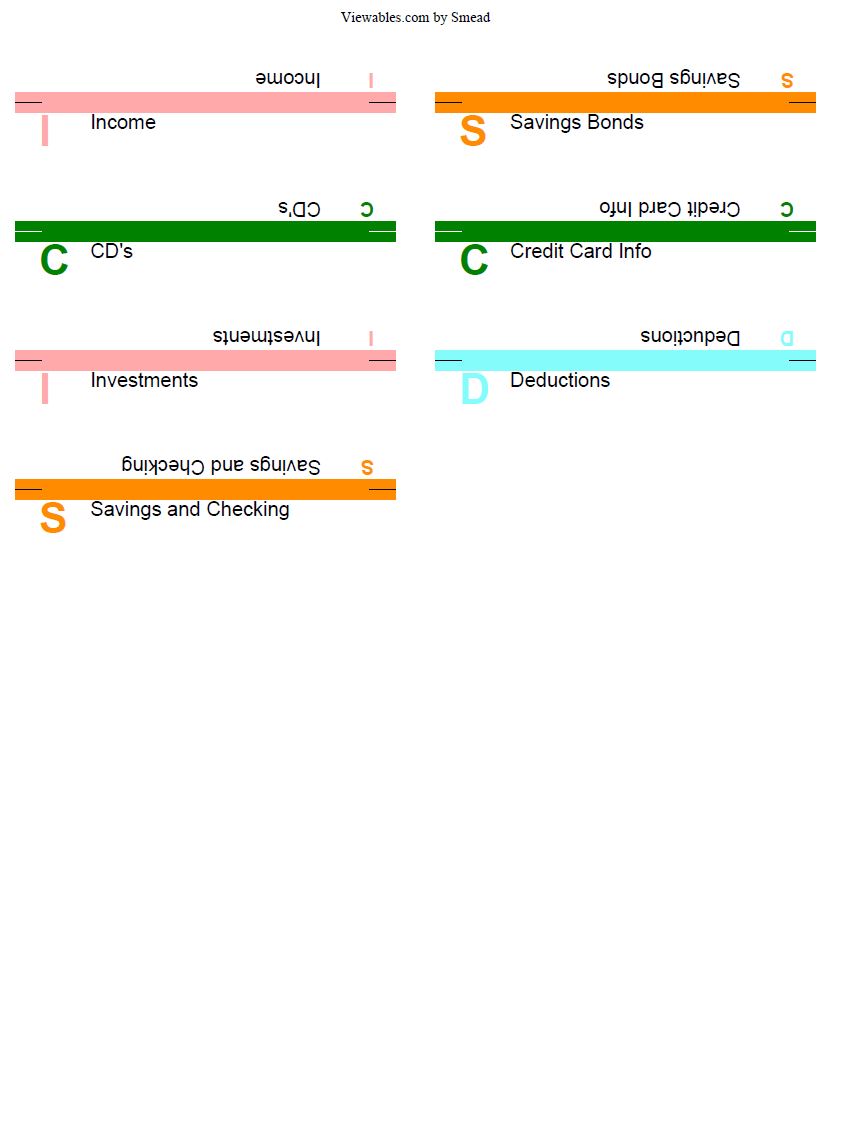
"Smead AlphaZ® label system”: The color is defaulted to the "Smead AlphaZ® label system”. The system uses a color based on the first character of the first line of text (see chart).
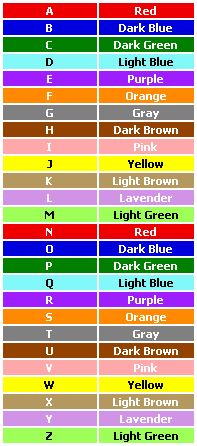
Preset Colors: You can also choose from one of the 10 preset colors.
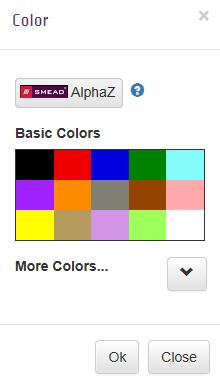
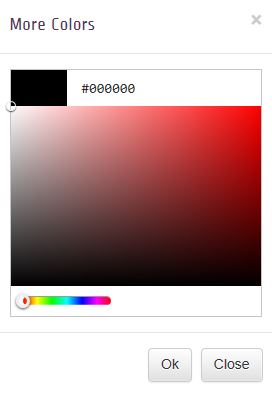
Custom Colors: You can also choose a custom color by clicking the More Colors dropdown. You can either use the color band slider or selector or type in your hex value.
Line Text: To begin to enter your label data click on text area on the label. You can click on each line independently to enter your label data. An automatic spell check is built in and will present a squiggly red line under the misspelled word.
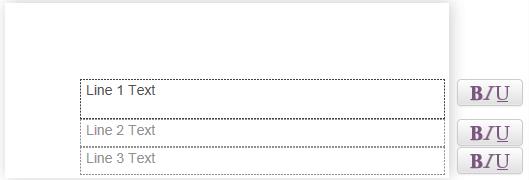
Click on the "BIU" icon to bring up the text editing options.
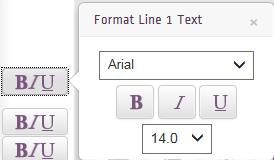
Font style and size: Changes the font style and size for the current label in the line text box. Each label type has a maximum size limit. If you select a size too large for the label, you will not be able to continue until you've reduced the size of one or more of the lines. NOTE: Since all fonts are different, some fonts will work better than others on the label. Use the preview to judge the best font choice.
Available Fonts:
- Arial
- Calibri
- Tahoma
- Times New Roman
Size limits for each label type:
-
3D Hanging
- Line 1 has a default font size of 14, and font sizes can be chosen in increments of half a point between 12 and 15 point.
- Lines 2 and 3 have a default font size of 9, and font sizes can be chosen in increments of half a point between 8 and 12 point.
-
Top Tab Labels
- Line 1 has a default font size of 14, and font sizes can be chosen in increments of half a point between 11 and 16 point.
- Lines 2 and 3 have a default font size of 9, and font sizes can be chosen in increments of half a point between 8 and 11 point.
-
End Tab Labels
- Line 1 has a default font size of 14, and font sizes can be chosen in increments of half a point between 11 and 15 point.
- Lines 2 and 3 have a default font size of 9, and font sizes can be chosen in increments of half a point between 8 and 11 point.
-
Oversize Labels
- Line 1 has a default font size of 20, and font sizes can be chosen in increments of half a point between 12 and 24 point.
- Lines 2, 3, and 4 have a default font size of 12, and font sizes can be chosen in increments of half a point between 8 and 16 point.

Add New Label button: When you click on Add New Label button, it keeps the formatting of the most recent label made but clears the contents of the label in the editing area on the left. The new label will not be saved to the project until copy is typed for the new label and the SAVE button is pressed. The Add New Label button can be considered the “Clear the Contents” of the editing area.

SAVE button: The save button will save or update the label in the project. You will be prompted to save if you try to navigate away from an unsaved label.
NOTE: you can also save the current label and start a new, unsaved label by hitting the "Enter" key

Upload Icon: This appears only if you have selected the include icon character from the Label options page. Once you click on the icon, you will be directed to the upload page.
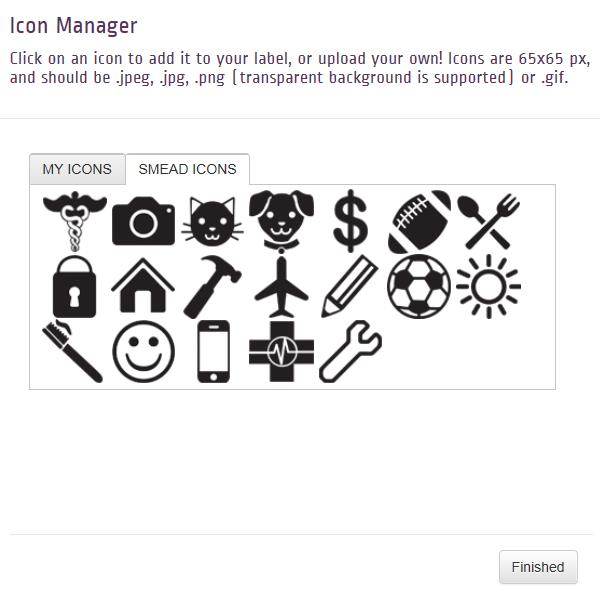
The Icon Manager has 2 options available:
My Icons tab: Contains a library of icons you can upload or have already uploaded from previous sessions.
Note: You must have an account to save icons to your library
Smead Icons Tab: Contains a library of Smead icons that may be used by all users.
The icon size preset: 65x65 pixels
The icon file type: .jpeg, .jpg, .png (transparent background is supported) or .gif.
Label Editing Page:
Creating Labels:
Project Listing/Edit
What are projects? A project is a collection of labels that can be saved and referenced for future use.
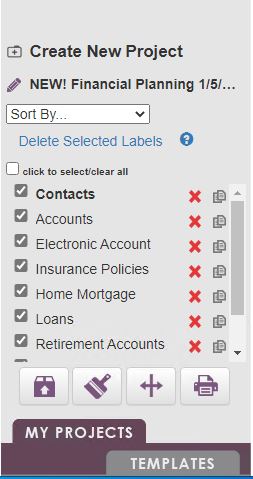
Editing a label in a project: To edit an existing label in the project click on that label name in the project area on the right and it will populate the editing area on the left with the existing label text. To keep the changes press the SAVE button and the changes will be saved to the project. If the changes were not saved then the original label will remain in the project.

Duplicate a label in the project: Checks a label(s) in the project and press the duplicate/copy icon to create a copy of that label(s) in the project as identical copies. New labels are added to the bottom of the list and the list will scroll to the current/new label. The label list will display labels in descending order of date created.

Delete a label from the project: Removes the corresponding label from the project.
Select All/Clear All: Check the box to mark and unmark all labels for printing or editing.

Create New Project: Clicking the briefcase allows you to start a new project.

Edit Project Name: Clicking the pencil enables you to edit the project title.

Sort Options: Allows you to sort your labels alphabetically and by the create date.

Delete Selected Labels: Using Ctrl-Shift, select the desired number of labels, then click this button to delete them.

Import Button: Click the folder button to import a .csv file to populate a project with the text needed to create labels. For more information see here.

Apply Label Style Button: The Apply Label Style Button will apply the style of the current label to all checked labels in the project list.

Print Alignment Button: The Printer Alignment button allows you to align the printer for label printing. For more information see here.

Print Button: The Print Button allows you to print your labels. For more information see here.
Storing Labels:
My Projects
My projects is only available for logged in users with a Viewables account.
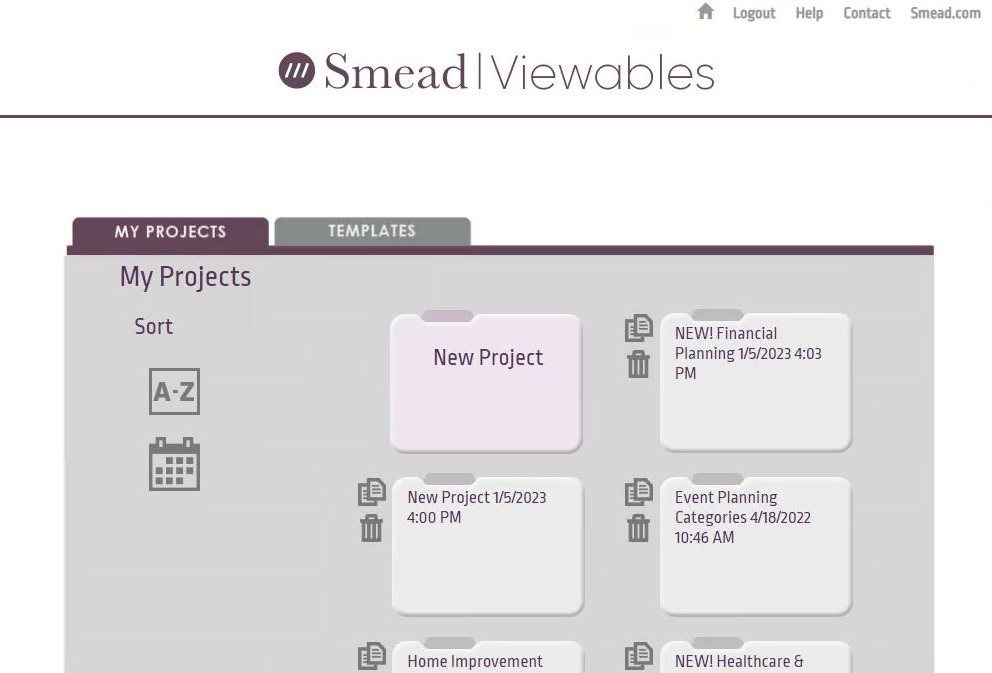
Sorting Projects
Your label projects can be displayed in one of two ways:

By Date: Project tiles are sorted in descending order of modified date.

Alphabetically: Project tiles are sorted alphabetically by project name.
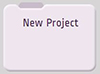
New Project: To create a new project, click on the "NEW project" folder.

Duplicate: To duplicate a project, click on the folders icon.

Discard: To discard a project, click on the trash bin.
Creating a Project:
^ back to top
Templates
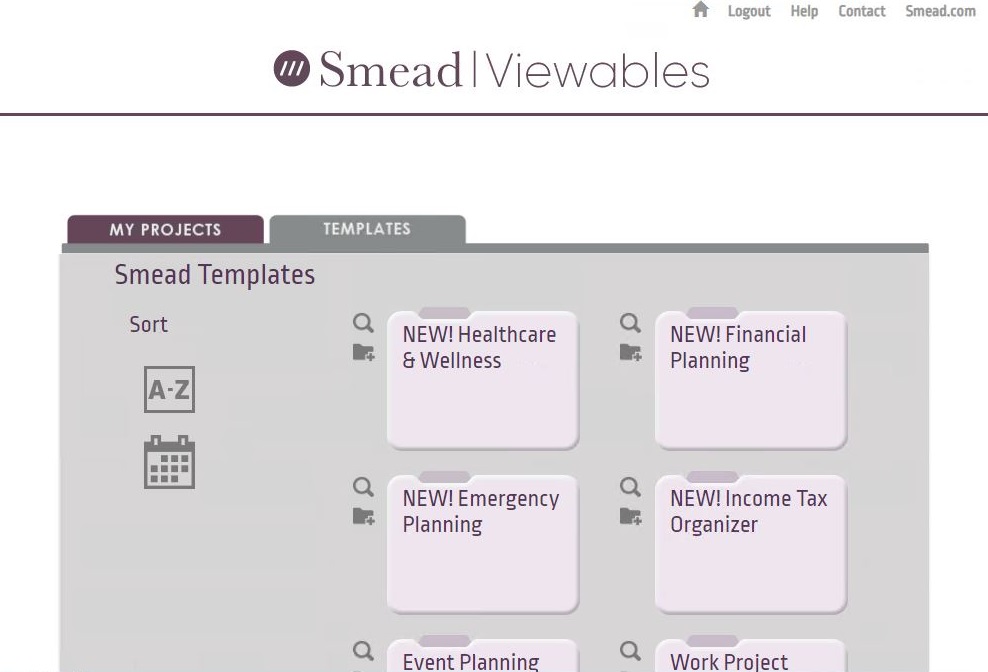

View Template: Takes user to the edit label page to allow template to be viewed in label editor. In order to make changes the user will need to save as a new project.

Copy Template: Will make a copy of the template and place in the My Project area for use.
Sorting Projects
Your templates can be displayed in one of two ways:
By Date: Project tiles are sorted in descending order of modified date.
Alphabetically: Project tiles are sorted alphabetically by project name.
Using Label Templates:
Mailing Label Templates:
^ back to top
Print Page Setup

This page will appear when you click the Print button on the edit label page. All selected labels will be added to the print job.
If you are logged in, the system will remember the last used label based on the last page printed from the previous print job, and will automatically mark those labels as printed.
You can also manually click to mark individual/randomly placed labels as used or unused.
The application will remember the last position used for next print job. Next print job will start on the next available open position
The system will store manual selections for the current session only.
You can mark all labels as used or not used easily with the checkmark button.
You can cancel the print request. If so, the action is cancelled and label used status changes are not stored.
You can continue to the print preview page.
^ back to top
Print Preview Page
The Print Preview Page will allow you to view and print the labels.
The print order is left to right for each row
NOTE: If you are using a FireFox browser to create labels, make sure you have the most current version, then, in the Print Preview page, click the Download button in the upper-right corner of the page and save as a PDF:
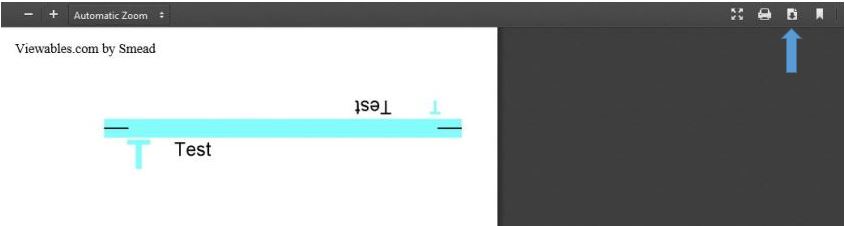
Then, print the PDF.
After the print job has been sent to the printer the user will be presented with a dialog verifying the print process has completed correctly
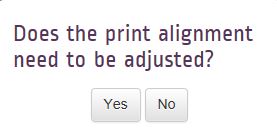
If the labels did not print correctly the user will be asked if the alignment needs to be adjusted.
^ back to top
Printer Alignment
You can get to the printer alignment page in two ways:
-
You will be prompted after printing "Did the labels print okay?". If you select no, you will be prompted "Does the print alignment need to be adjusted?" If you select yes then the Printer Alignment page will appear
-
The label editing page has an alignment button for direct access to the printer alignment page.
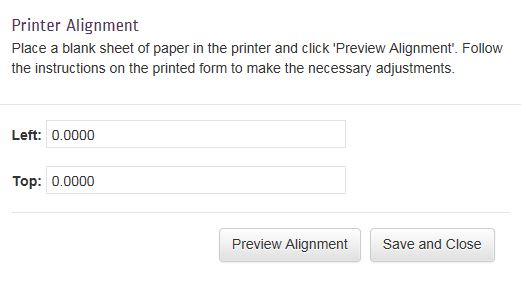
To adjust the printer alignment
- Put plain, blank paper (8½" by 11") in the printer you will use to print labels.
NOTE: To conserve label stock, make sure you print the alignment form on plain paper — not label stock. - Select the Name of the desired printer, and then click the Print Alignment button to print an alignment form.
- Follow the instructions on the printed form to adjust the printer's alignment. Use a ruler or the printed tick marks to determine the necessary adjustments. Measurements are in decimal inches. The tick marks are 0.100 inches apart
- On the Print screen, adjust alignment settings in the Left and Top boxes.
- Before printing the labels, print another alignment form on plain paper to verify that the alignment is correct. If necessary, repeat this alignment process.
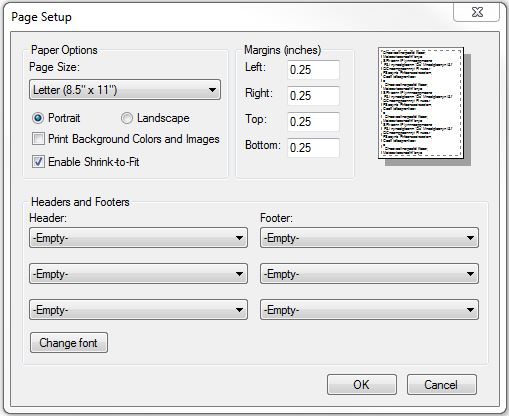 Note: Be sure to check the browser print settings. Some browsers will shrink the page to fit. For example, in Internet Explorer this setting should be turned off by going to the file menu and choosing "Page Setup". The Checkbox next to "Enable Shrink-to-fit" should be unchecked for Viewables to properly print labels.
Printing a Label:
^ back to top
Import Data
First, if you have a project into which you want to import oversize label data (four lines of text), please make sure you have a project with one oversize label created and that label is selected in your project. If you don't start off a project with an oversize label and then import a CSV with four lines of text, you will lose the fourth line from each label.
To import data from a .csv file, click the upload button.
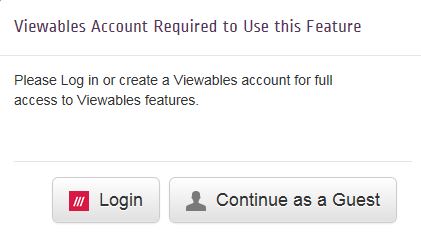
If you have not logged in, you will be presented with the opportunity to either log in or continue as a guest. If you continue as a guest then you will not be able to upload your file.
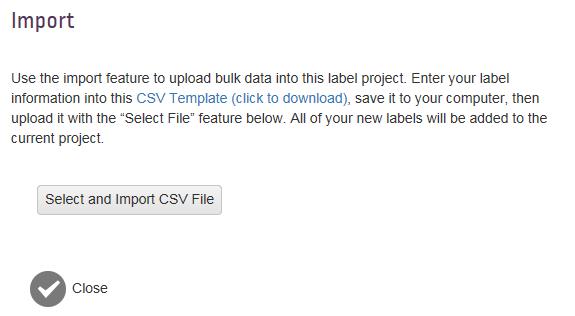
If you are logged in, you will be presented with the import dialog.
If your file has already been created: Click the Select and Import CSV File Button. Choose your file from the upload dialog and click the open button. Your file will be imported into the current label project. If the current project has manually created or previously imported labels, the import will append the new labels to the end of the file
If you have not created your file: You can use the CSV Template to create your file. Click the CSV Template link in the import dialog to download a template for data entry. If you have Excel on your computer the file will open for editing in excel.
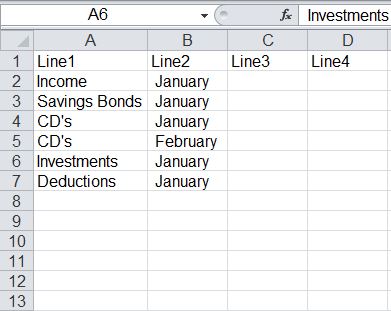
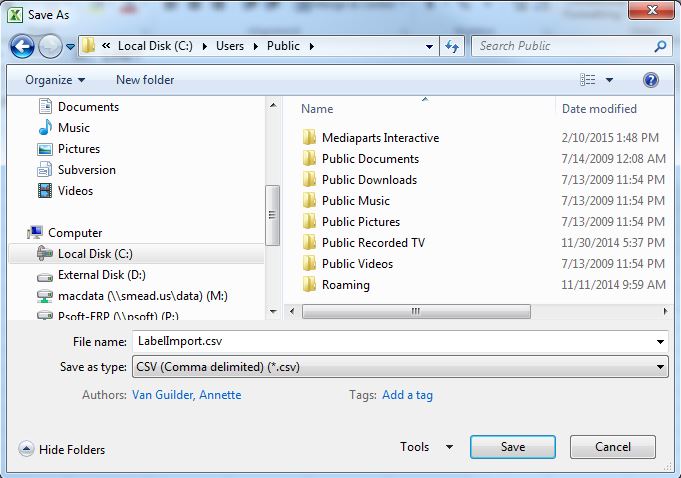
Saving with Excel: If you use Excel you must save your file as a .csv file after you make changes. Choose Save As from the File Menu and then choose CSV from the Save as type dropdown in the save dialog.
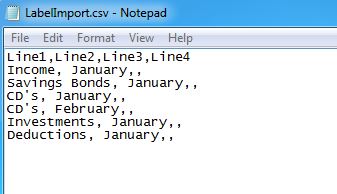
Text file editor: If you don't have Excel, you can use any text editor to edit the file. As with Excel, you must save the file as a .csv.
Required File Format: The required file format is comma separated values for each line on the label with a carriage return line feed between labels. For oversize labels, you can have four columns per label, one for each line on the label. For all other labels you should only have 3 columns, one for each line. The header should read: Line1, Line2, Line3, Line4. All 4 column headers must be in the CSV you import, regardless if you use all 4 lines on a label.Also, be sure your CSV has data in the Line 1 column for all your labels.
After the .csv file has been created, follow the above steps to upload the file and you will see your imported labels in the label edit screen.
Importing File Headings:
^ back to top
FAQ
I lost my fourth line of text in the CSV Import – Make sure you have a project with one oversize label created and that label is selected in your project. If you don't start off a project with an oversize label and then import a CSV with four lines of text, you will lose the fourth line from each label.
Print alignment – make sure browser settings are not set to "shrink to fit." Verify that you are printing on the 16 up blank labels and not the actual tabs or laminates.
Suggested Printable Length Warnings – in many cases, going beyond this length will cause label text to be truncated from prints. Please use these warnings, in addition to the print preview screen, in determining if your labels will print successfully.
Software times out – log out of site, close browser, reopen browser, then log back into Viewables.
Import / Export data – currently, it is not possible to export data from the site. If you wish to have the data stored offline you will need to use the Import Data function and store a copy of the .csv on your computer.
Imported records not displaying - if imported records move to the bottom of the list on the right, start a new project before importing.
Data is being truncated – although the print preview will show all your data we advise executing a test print using copier paper as longer strings of text may be truncated.
^ back to topTechnical Support
Smead Software Support Inquiries:
Phone: 800-800-6131
Fax: 800-959-9134
Email: customerservice@smead.com
^ back to top